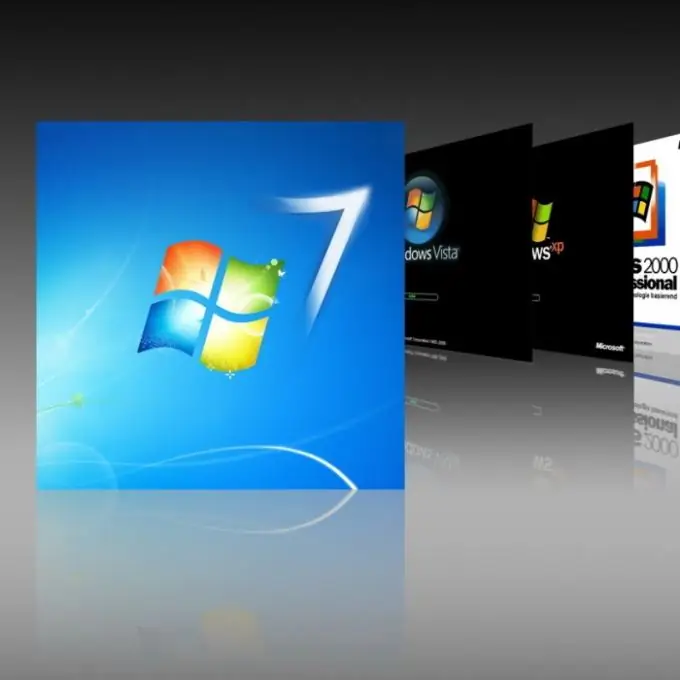
Installing the original version of Windows Vista or Windows 7 often means installing an English-language distribution of the operating system. After installation, you will receive a completely "English" computer. Making friends with the Russian language is not so difficult.

Instructions
Step 1
If you happened to install a version of Windows for the USA or any other English-speaking country, you can legally, without violating the license agreement, install the Russian language in the editions of Windows Vista / 7 Corporate and Windows Vista / 7 Ultimate. In the case of other editions, for example, Basic or Home Premium, you will have to "hack" the operating system and work with the registry.
Step 2
To install Russian or any other language after Windows starts, click the "Start" button at the bottom of the screen and select "Control Panel". Of course, in the English version it will be called “Control Panel”. You will see 8 large sections of operating system management on the screen. In the “Clock, Language and Region” section, click on the “Change display language” link.
Step 3
In the “Region and Language” window that appears, go to the “Keyboards and Languages” tab and click on the “Install / Uninstall languages…” button marked with a yellow-blue shield. The installation window will appear on the screen, in which the computer will offer you to install (Install) or uninstall (Uninstall) the language pack. Press the wide button “Install display languages”.
Step 4
At the next step, the computer will offer to select the location where the language pack is located: download from the Internet via Windows update (Launch Windows update) or specify the location of the file on the computer (Browse computer or network). If you have a MUI file with Russian, select the second button and use the explorer to indicate the location of the file on your hard disk. If the file is not there, download it over the Internet.
Step 5
After the file is found, click the “Next” button. You will see the license agreement, agree and click “Next” again. The process of downloading and installing the language pack “Russian (Russian)” will appear on the screen as a green bar. After installation, in the “Progress” field you will see “Completed”. Then click “Next” again.
Step 6
In the “Select display language” window that appears, select “Russian” and check the “Apply display language …” box, and then click on the “Close” button.
Step 7
In the “Region and Language” window, select the Russian language to display and click “OK”. Installation completed. Now you need to restart your computer and wait for the Russified version of Windows to start.


