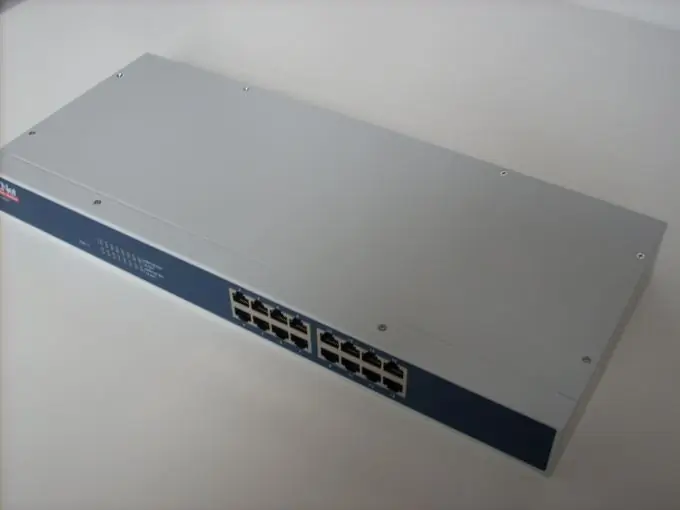
In order to create a home local network, it is recommended to use a network hub (switch) or router. The second device is more reasonable to use if the network will include netbooks and laptops.

It is necessary
- - network hub;
- - network cables.
Instructions
Step 1
If you decide to configure access to the Internet on all computers included in the network built using the switch, then you will need an additional network card. The fact is that you do not need to connect each computer to the Internet, but use one single cable from the provider. Purchase an additional network card.
Step 2
Connect it to the computer that will be directly connected to the Internet. Be very careful when choosing this PC. It must have sufficient power to distribute the Internet channel.
Step 3
Connect one of the network cards of the selected PC with the cable of the provider. Set up and test your internet connection. Now connect all computers to the network hub. Naturally, connect the first PC through the second network card.
Step 4
Open the settings for this network connection on the first computer. Select TCP / IPv4 properties. Set this network adapter to an IP address of 76.76.76.1.
Step 5
Go to internet connection properties. Select "Access". Activate the function responsible for the use of this Internet connection by other computers on the local network. Save the settings.
Step 6
Go to any other computer on your network. Open the TCP / IPv4 properties for the adapter connected to the network hub. Set the following parameters for it: - IP address 76.76.76.2;
- The subnet mask is determined by the system;
- The main gateway 76.76.76.1;
- Preferred DSN Server 76.76.76.1 Save this menu setting.
Step 7
Configure the rest of the computers in the same way as in the previous paragraph, each time changing the fourth segment of the "IP address" field. This will avoid IP conflicts within the network. Make sure all PCs have internet access.


